**I received a package of goodies as a thank you for hosting this party. All opinions are my own**
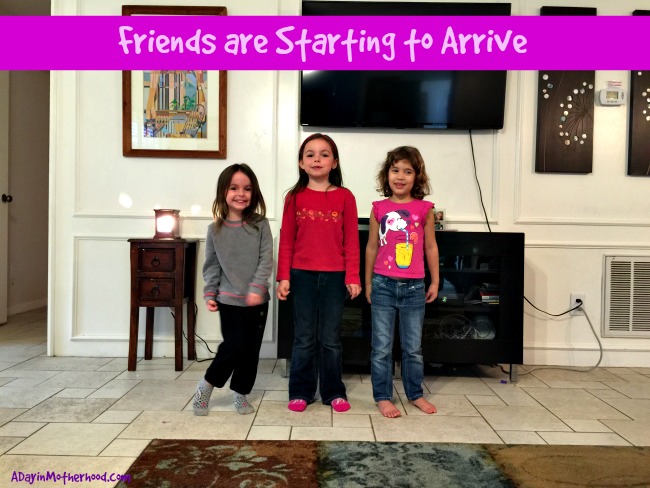
I did the happy dance. I sure did! I was going to have my girl’s friend over and have a little party showing off our #DisneySide! As you know if you follow me on Instagram or Facebook at all, I love all things Disney. When I got to surprise the girls with a trip last year to Disneyland, it was the pinnacle of happy! This year we are inundated with Disney every day. From the TV shows to toys to DVD’s and more! I think it is hard to have little girls and not be in the Disney spirit! So I invited their friends over, baked a Mickey Cake that I, literally, had no idea how to ice and we had an afternoon of total fun! I wanted to pass on some pics and some tips on icing that cake!
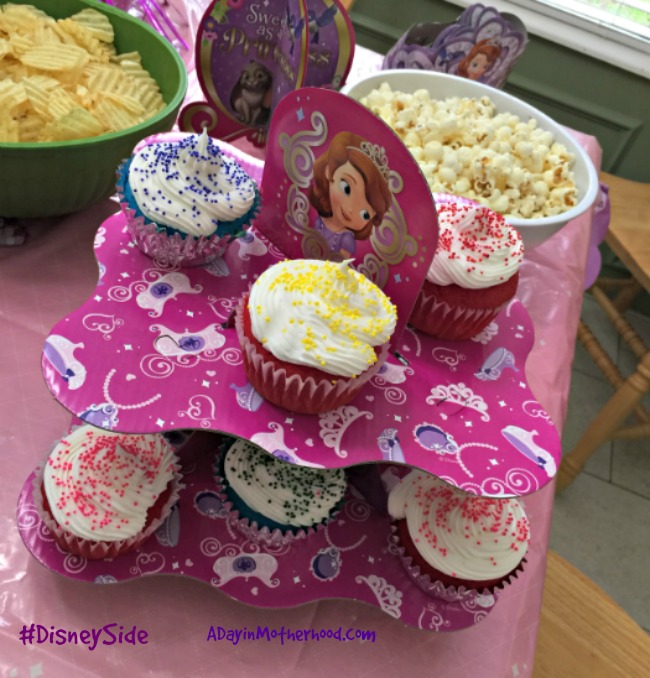
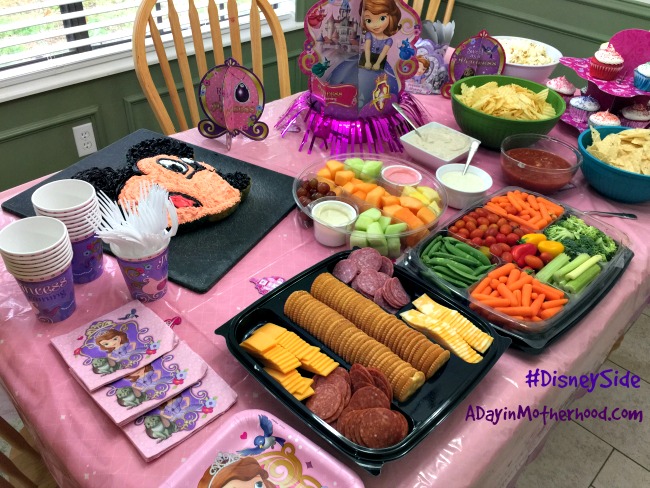
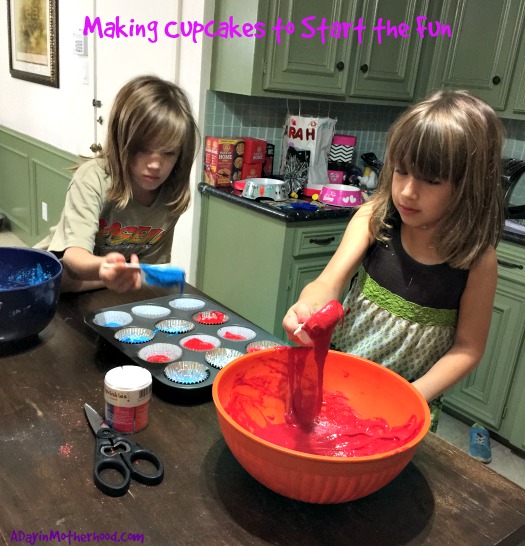
We prepped early. From our package we pulled out Sophia the First decorations, Doc McStuffins Toys and more! I decorated the house and then got to work on the cupcakes with sprinkles and the Mickey Cake. Honestly, I baked the cupcakes because I really thought that the cake would be a fail! LOL But I was wrong!
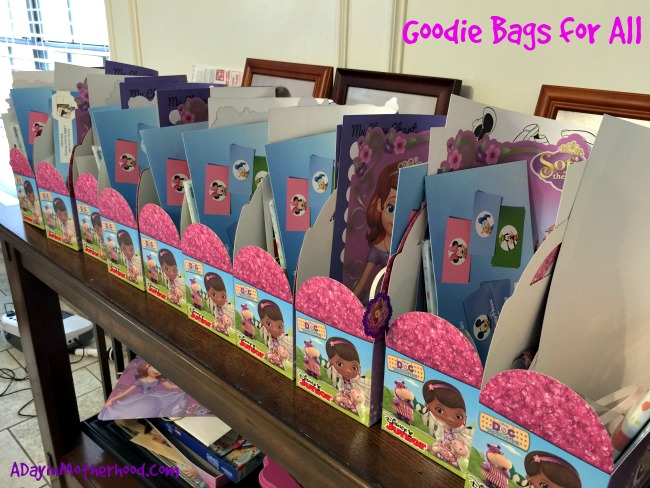
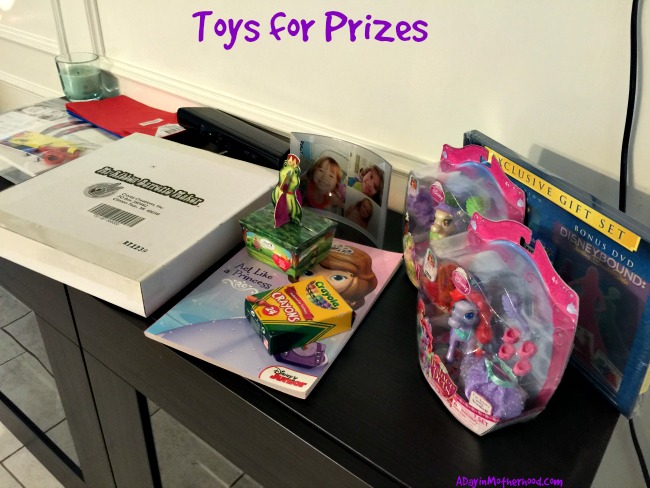
I pulled out the toys that I was giving away as prizes for Pin the Tail on Mickey, Disney Bingo and more. The party was really coming together!
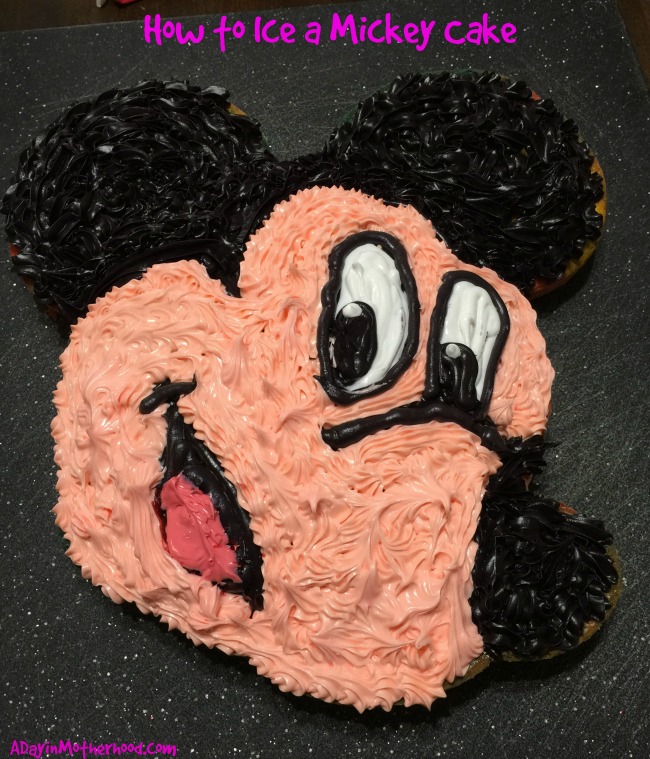
The Mickey Cake was amazingly easy to make. I admit, I am not a baker and most certainly not a decorator. But my kit came with a Mickey Cake Pan and some cake mix so I had to try! It’s for the kids, right? Baking it was easy. I used lard to coat the pan and then flour on top of that. I knew that if one part of the cake stuck to the pan, I was a lost cause. So follow the instructions on the cake pan and really make sure you coat it well.
I made the cake and let it cool. When it was cool, I used these nifty little icing products that come with multiple tips on the top! I used black for this one. The multiple tips allows me to add a smooth outline and then the ears in the star pattern to fill it in! I then pulled out my favorite icing tool ever! Mixing the ‘skin’ color with white icing, a few drops of yellow food coloring and a dot or two of pink, I filled the tool and used a small star tip. I then proceeded to fill in the rest of Mickey’s face.
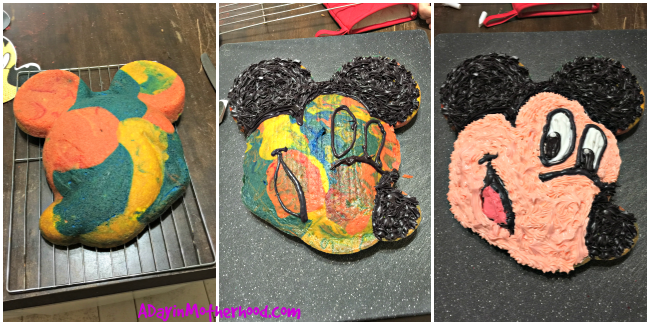
I then mixed white icing with pink food coloring and a dot of red to get it a little more tongue color and used a spoon to put the tongue in. To clean it up, I used my black icing and redrew the lines on the face. I then filled in the eyed with white and drew on the middle with black. Using the tip of a sharp knife, I added the dot of white that gives Mickey that glean in his eyes.
Overall this cake was surprisingly easy to make and decorate! Be careful when you flip it to ice though, those ears will fall right off!

How do you show off your DisneySide? I would love to see your Disney inspired posts and pics! Just leave them below in the comments section!


Leave A Comment