*Affiliate Links May be Included
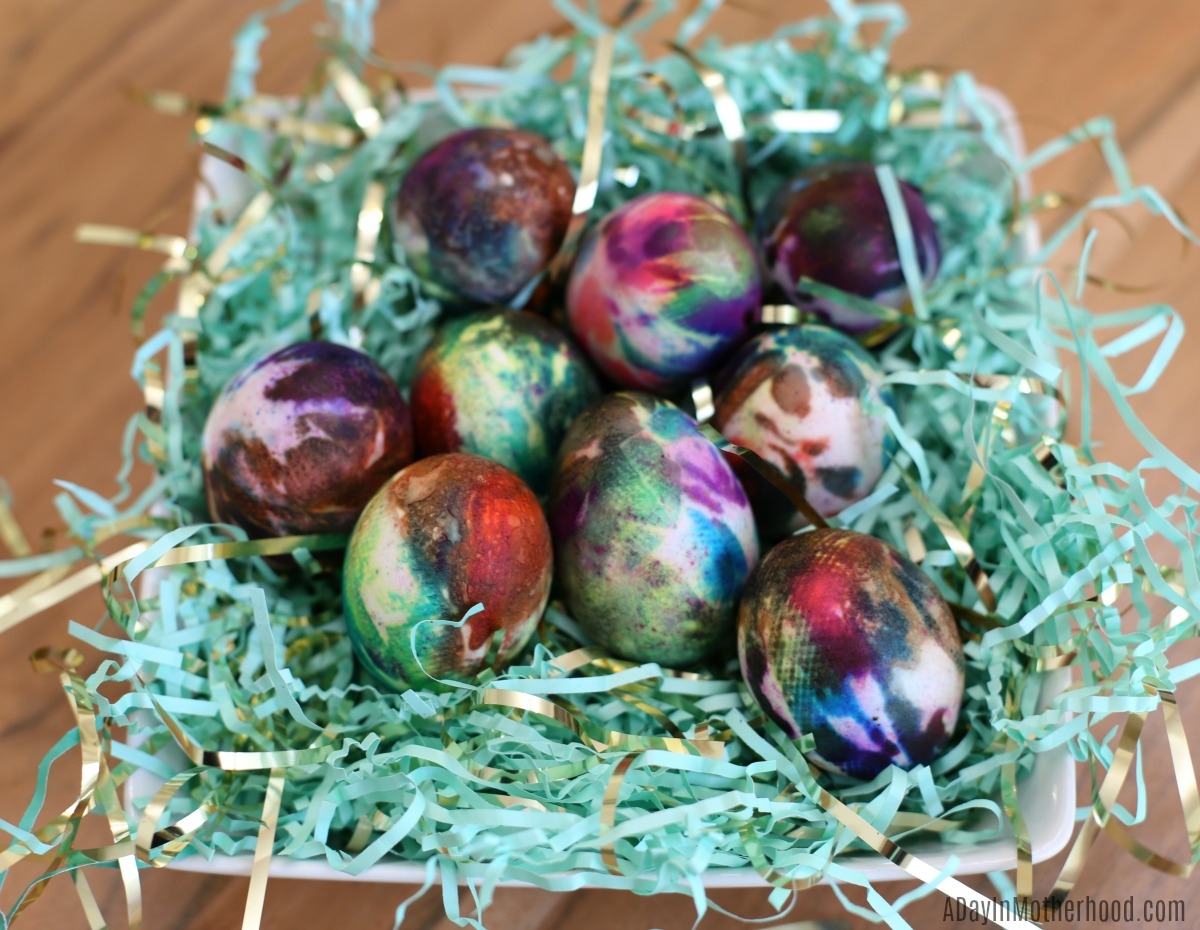
These you HAVE to make with your kids!! I saw these on a morning show and my craft guru recreated them easily in my kitchen. My kids had SO MUCH fun creating these Tie-Dye Easter Eggs that they are a must on any Easter list! The supplies and how to make them are below. Aside from the odor, they are a craft that unveil color and festive eggs for your Easter Baskets!
Tie Dye Easter Eggs
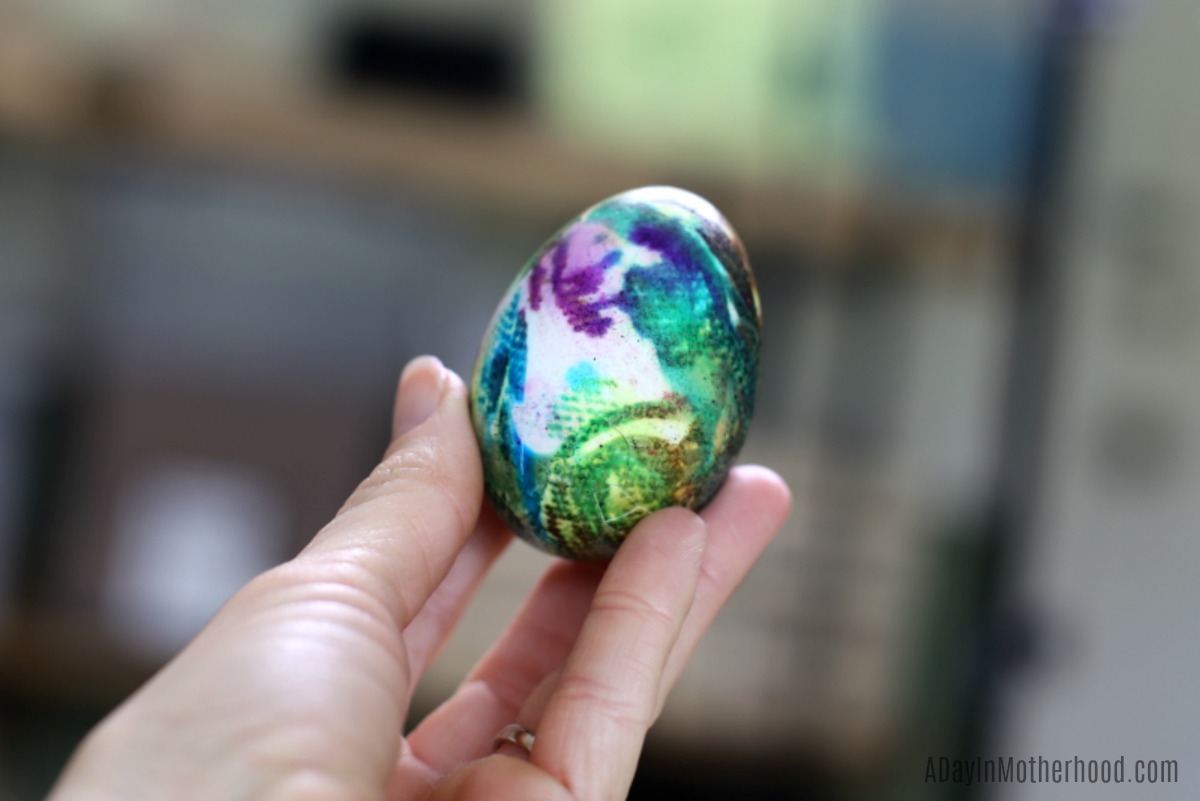
These Tie Dye Easter eggs are fun, festive and colorful!
Author: A Day in Motherhood
Cuisine: craft
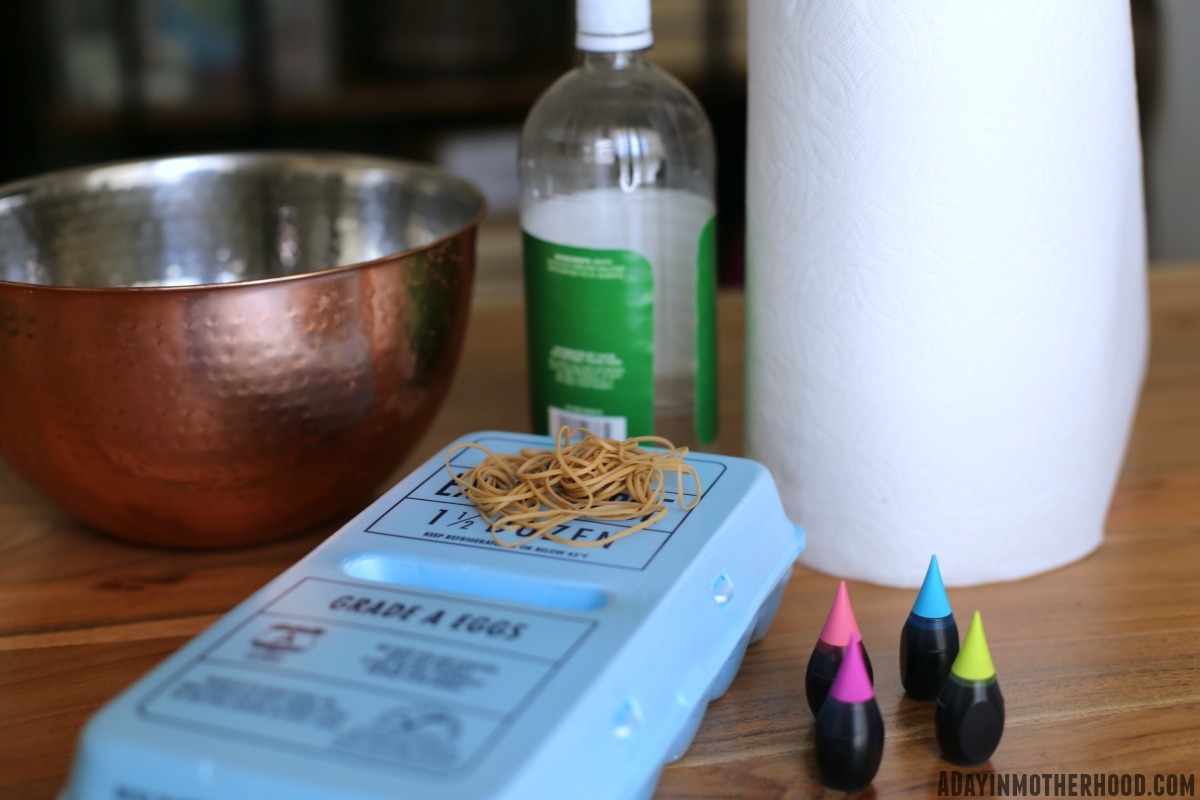
Ingredients
- Eggs, hard boiled
- Food Coloring
- Paper Towels
- Rubber bands
- Rubber Gloves
- Vinegar
- Ice Trays
Instructions
- Prep: I did both of these steps the night before
- Pour vinegar into ice trays and place in freezer until frozen.
- Place desired amount of eggs you wish to make into a deep saucepan. Fill with enough water to cover the eggs and add some salt. This makes for easy pealing if you wish to eat the eggs once finished. Turn burner to high and bring to a boil. Lower heat slightly and boil for 10 Minutes.
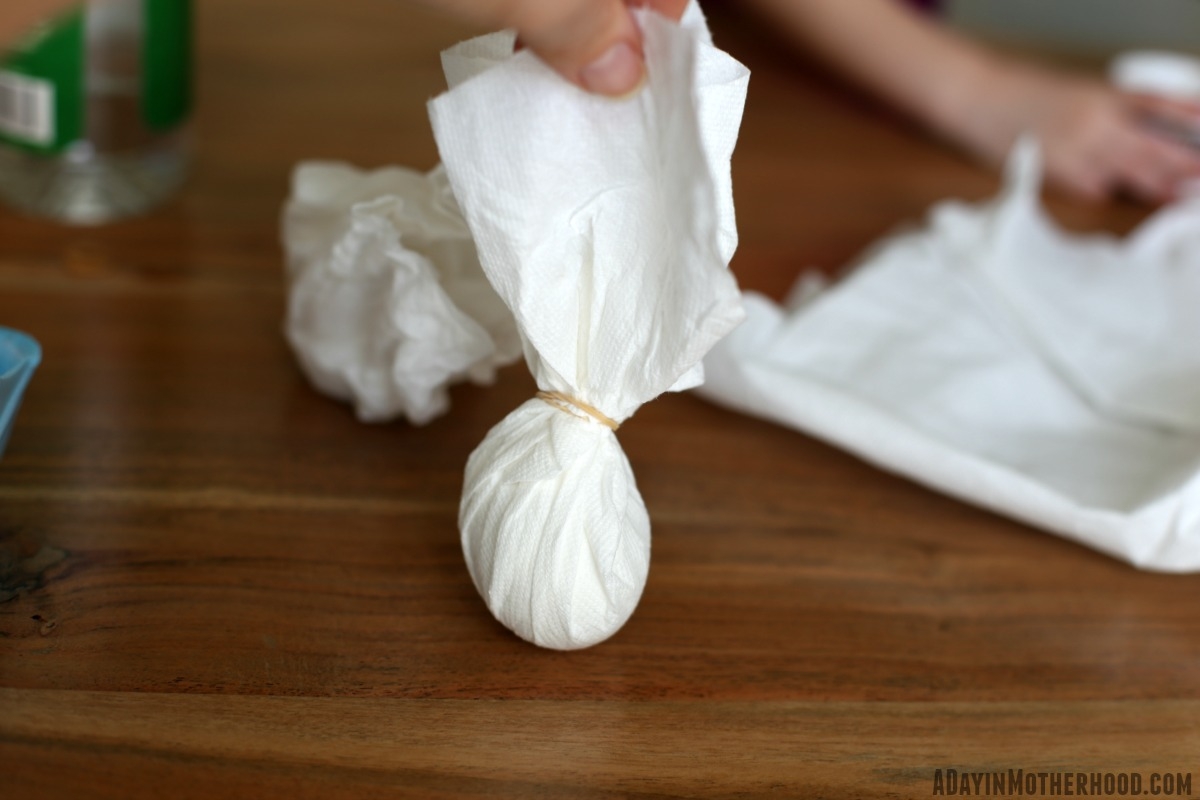
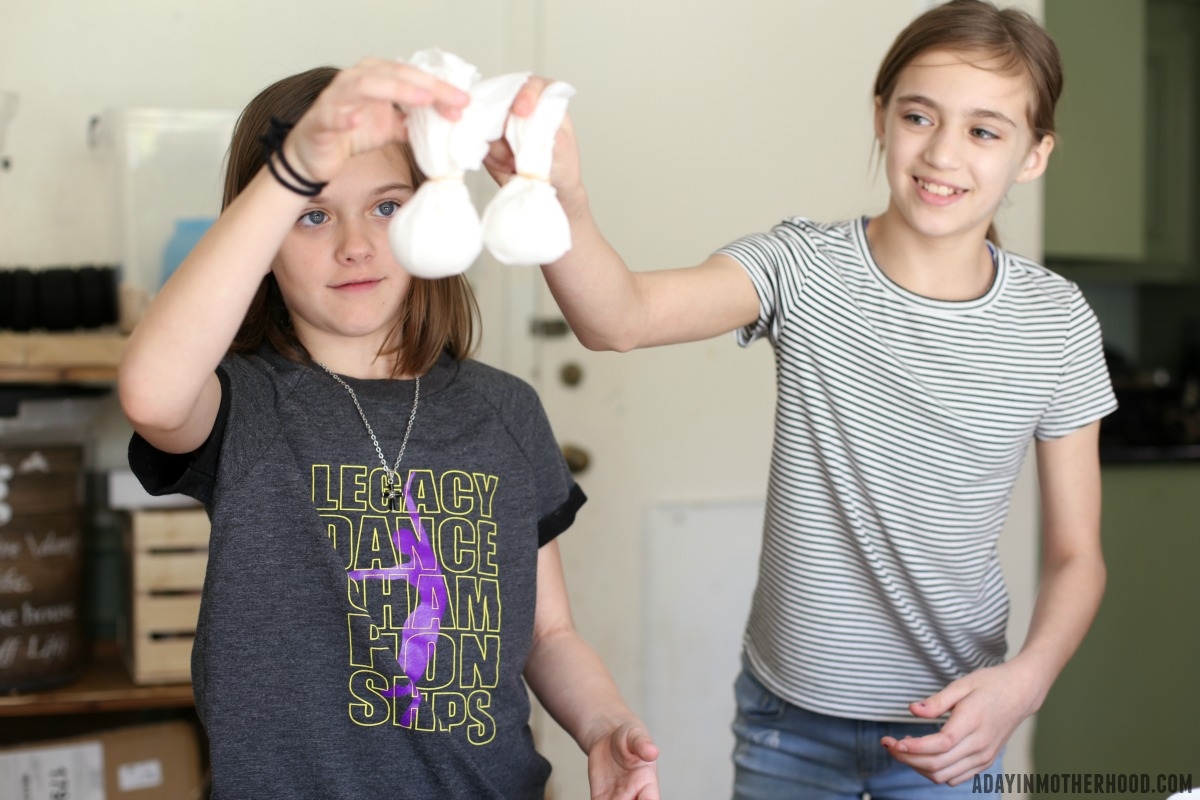
- Take the eggs and place in middle of the paper towels.
- Grab each corner of the paper towels and pull to the top covering the egg.
- Secure with rubber bands at the top of the egg, similar to a ponytail.
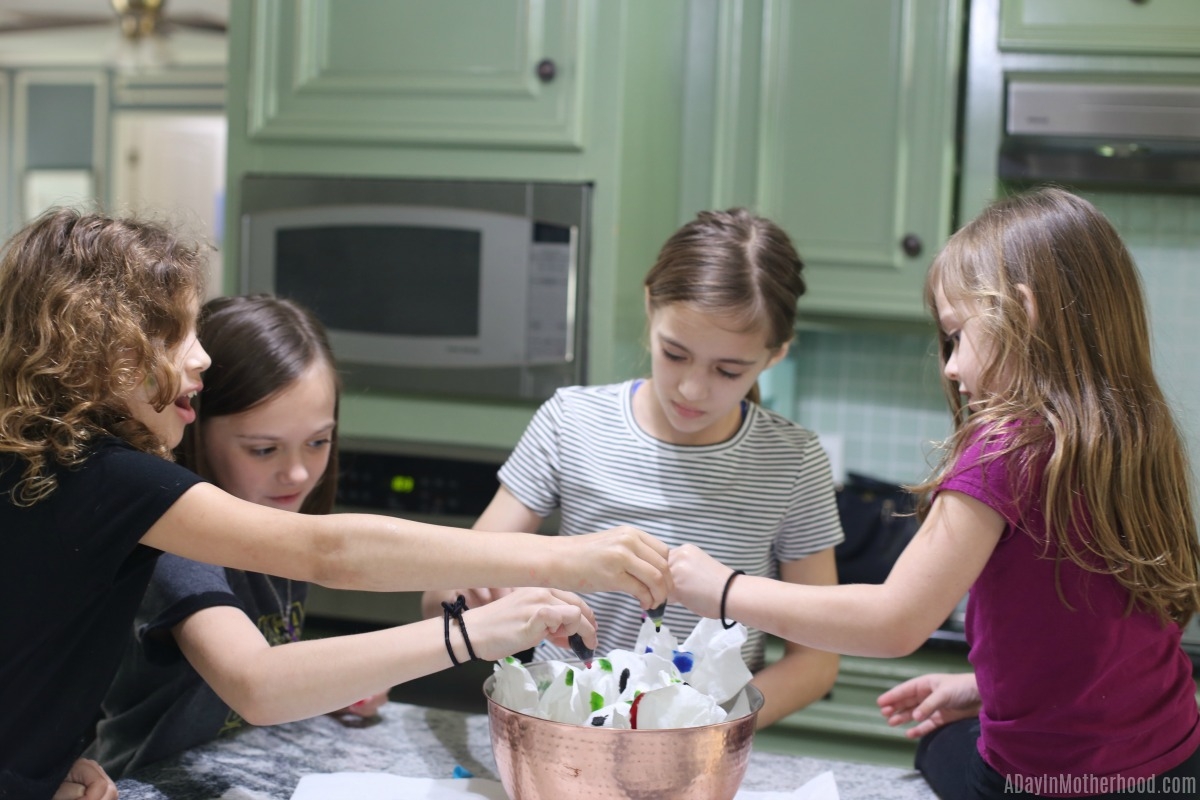
- Once all the eggs are wrapped place them in a bowl.
- Take your vinegar ice cubes and place them in between, under and on top off the eggs. Spread them out evenly.
- Put on your rubber gloves and grab your food coloring.
- Place drops sporadically using 2-4 colors. Be care not to use too much that it blends into one big color on the eggs, but also not too little that it doesn’t show. When applying drops you do not need to get food coloring drops on the “tail” part of the paper towel, aim for the egg if possible.
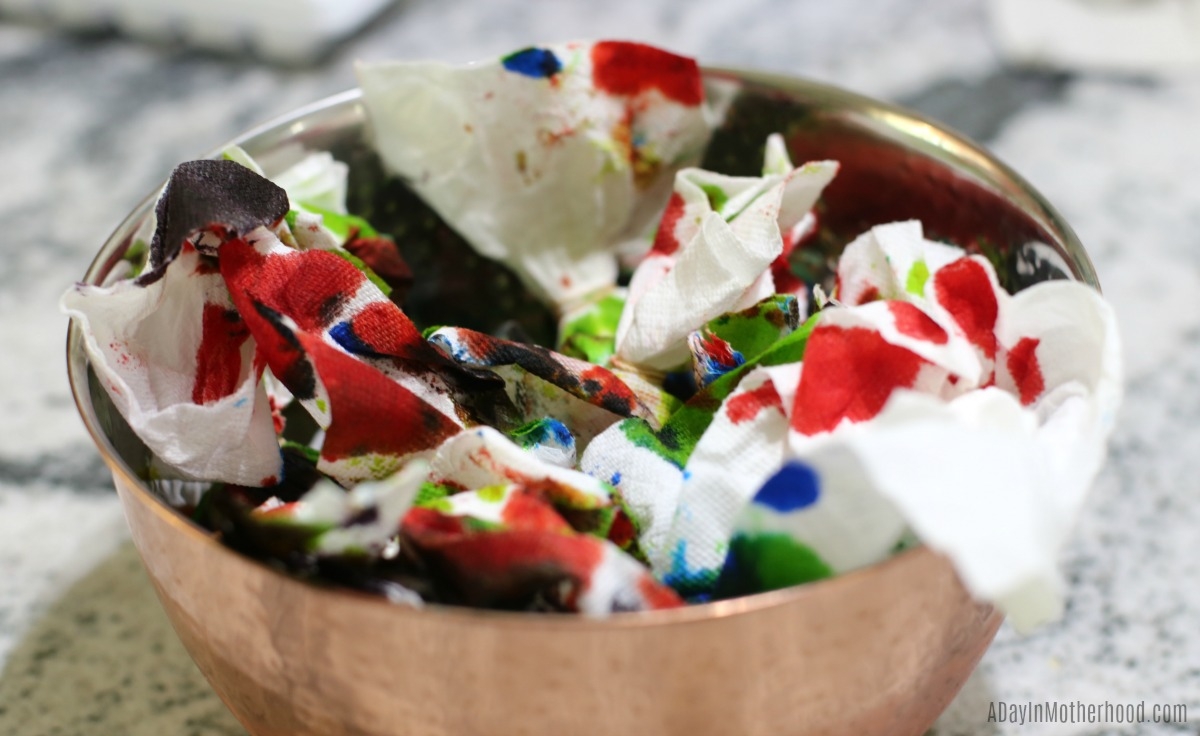
- Let sit at room temperature until the vinegar cubes have melted enough to soak the paper towels.
- Once soaked, remove the covered eggs and place them on an old towel or a plate that you do not mind getting stained as the food dye tends to “bleed” a little.
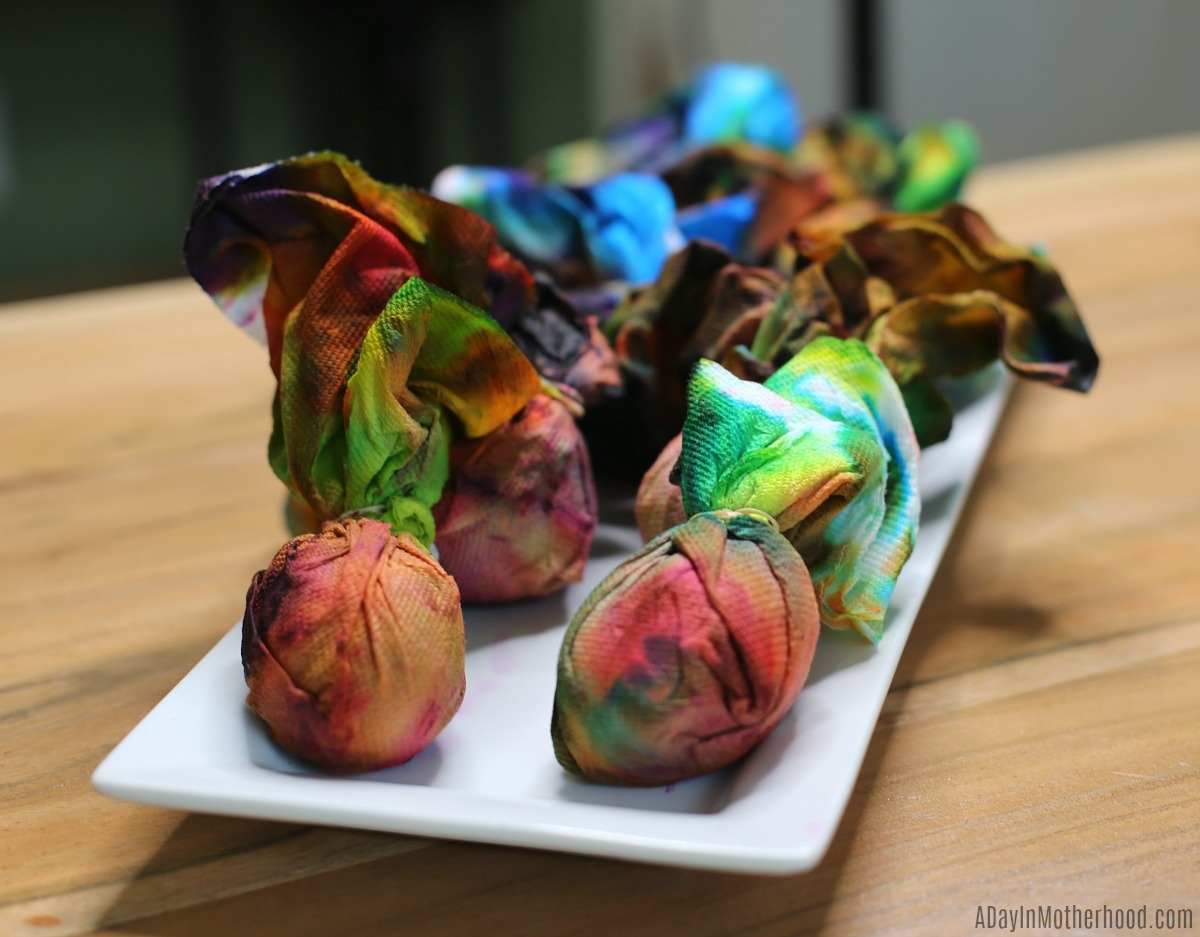
- Once the paper towels are dry, I let mine sit overnight, remove the paper towels gently, rinse and enjoy your creative tie dye eggs.
A few tips for perfect eggs”
- Please use disposable gloves! The vinegar and food coloring can wreak havoc on little hands. So make sure you have disposable gloves ready when you do this.
- Use a metal bowl if you can. Plastic stains more quickly so a metal one is safer.
- Let them sit in the garage or outside if the weather is OK. The aroma can get to you so letting them sit elsewhere is better for your nose!
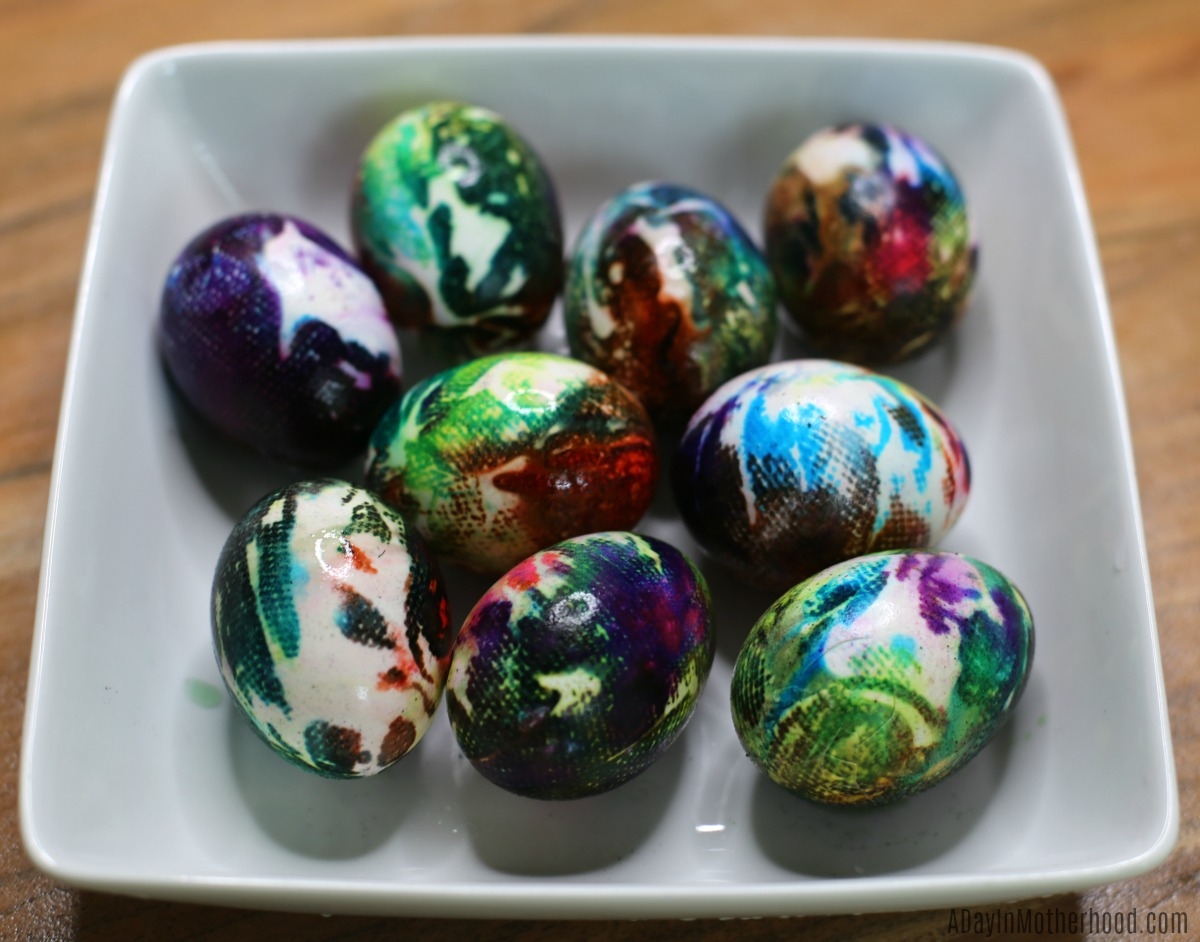
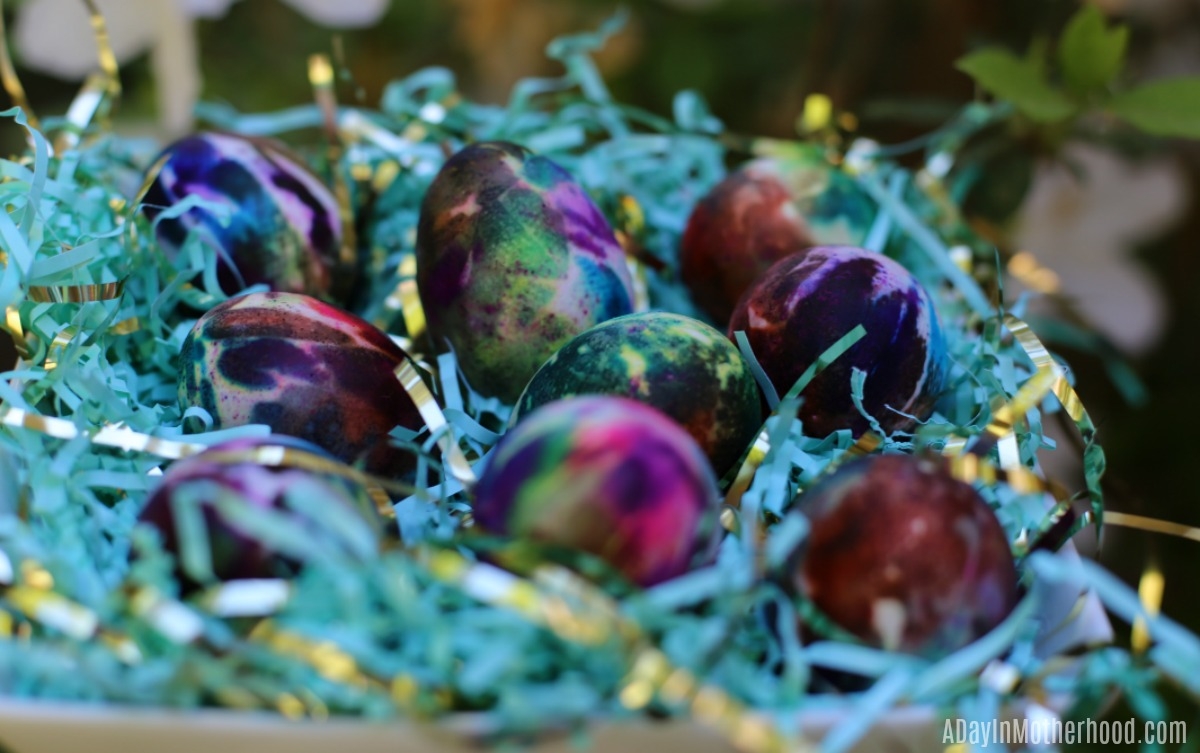
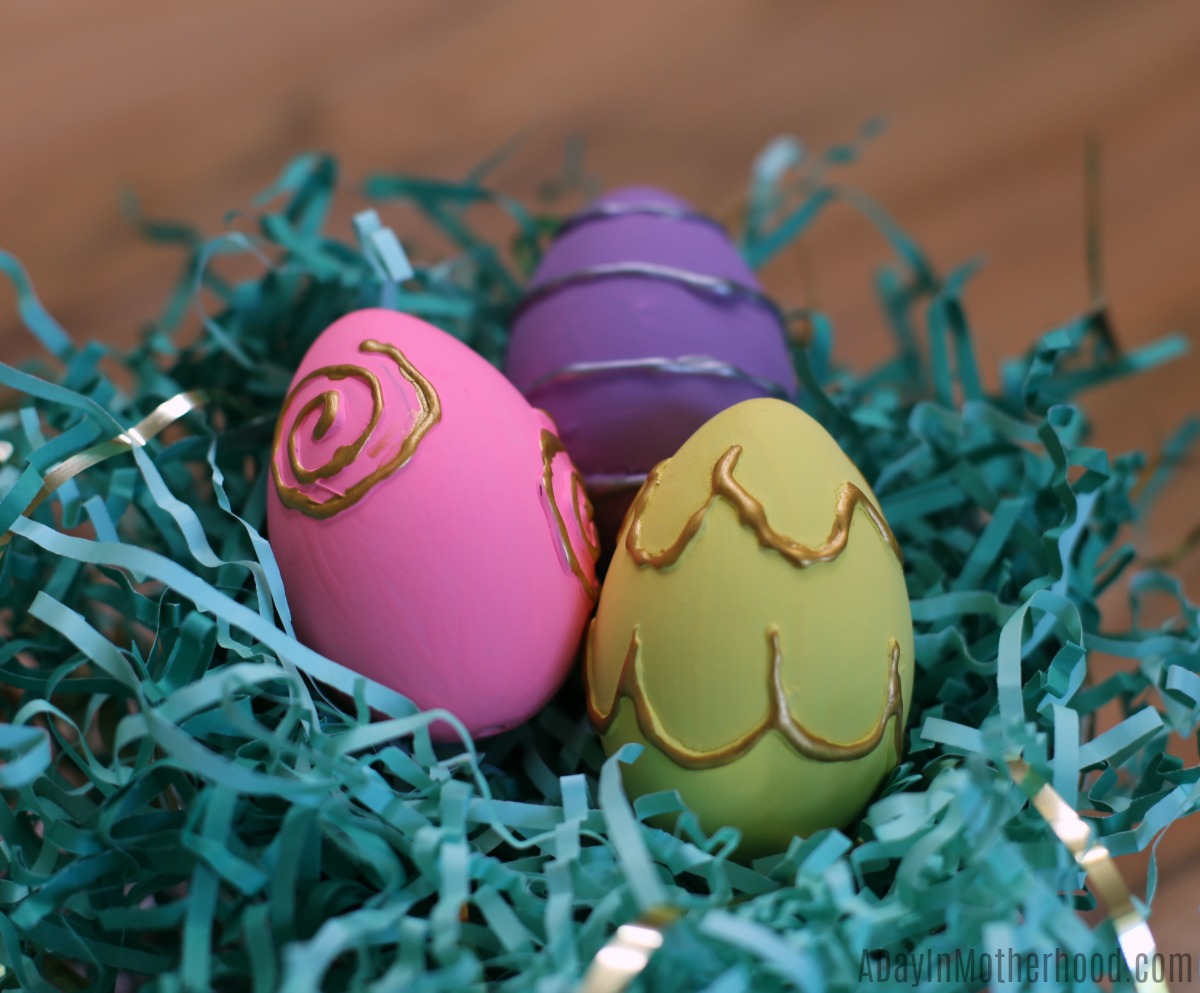
These Tie-Dye Easter Eggs are a blast to make a wonder to unveil! Who in your family would love these?


Leave A Comment