Marbled Nail Art is a fun way to spend an afternoon with your daughters. If you’ve been stuck inside recently due to cold weather and snow, you’ll love this new way to paint nails.
Check out more Nail Art ideas on my Pinterest Board!
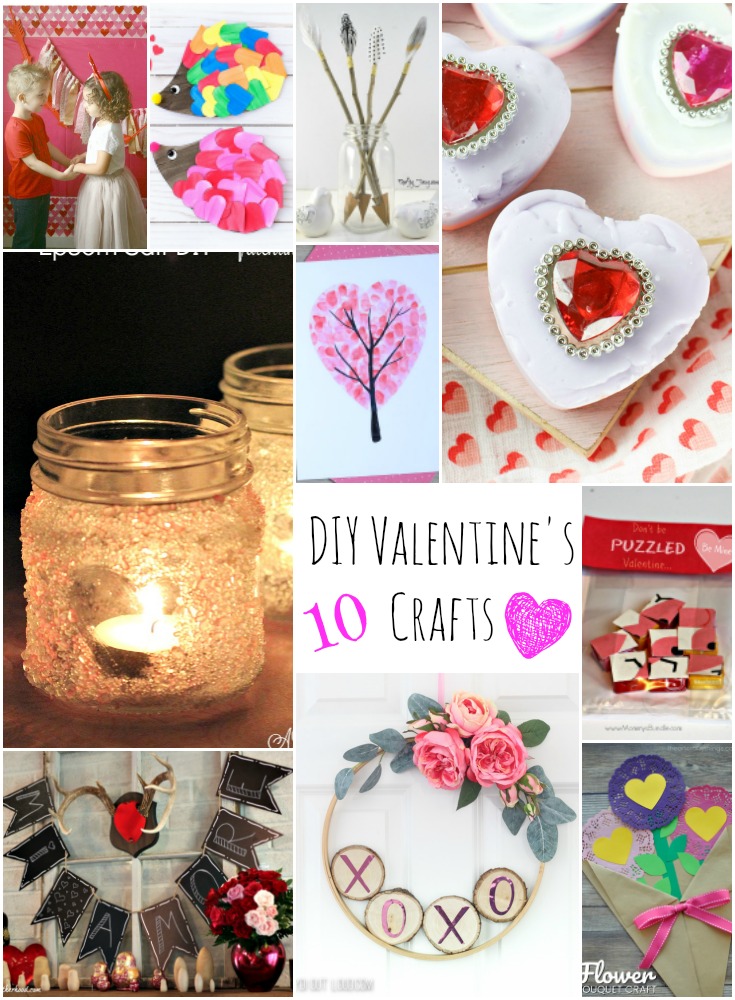
With Valentines coming up we thought some fun pink designs would be the perfect color to adorn my oldest’s nails. Before getting started, we watched a couple youtube videos to make sure we knew what we were doing. It all seemed simple enough, and the girls had grand ideas of designs they wanted to create.
What you need to make your own Marbled Nail Art
- Nail Polish
- Water
- toothpicks
- scotch tape
- a paper cup
- Nail Polish remover
- cotton swabs

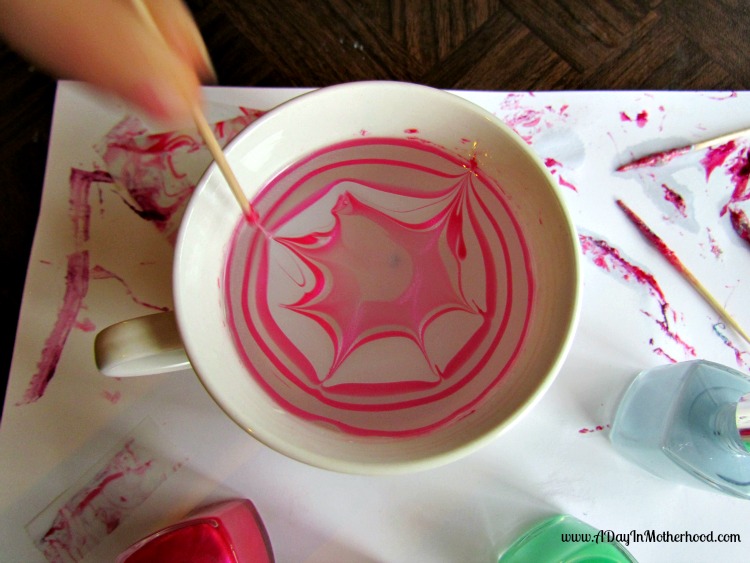
To begin, fill a cup with room temperature water. Open all the nail polish colors you want to use. Taking the time to open and close while dripping them in the water takes too long, so just leave them open. Loosely, but securely wrap each finger in tape so just the nail shows. Begin dripping 1 drop of your colored nail polish into the water. Each new color should be in the center of the last. The water helps it disburse across the top of the cup.
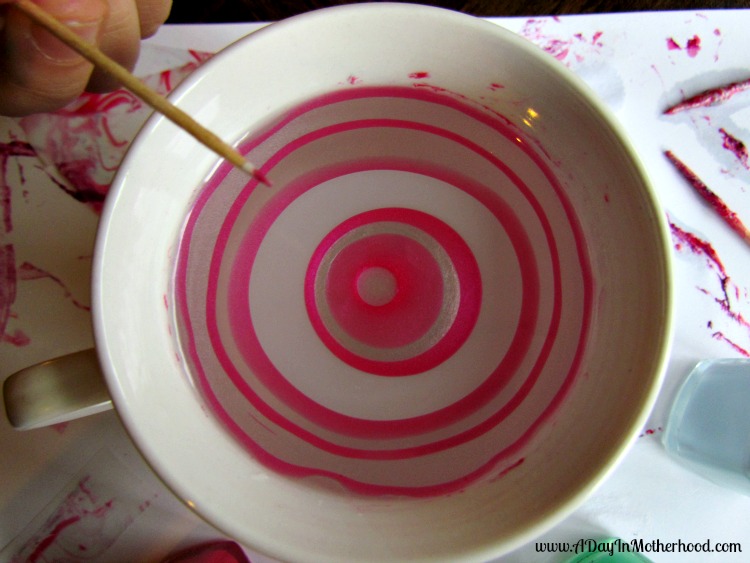
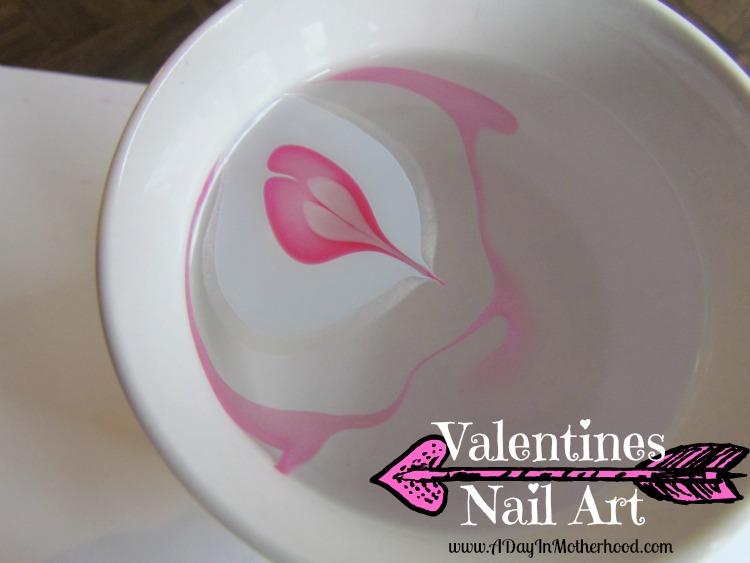
Using the toothpick, begin making swirls, hearts, lips, or whatever your heart desires in the nail polish. Do not break the outer ring, as it has probably dried and will pull up all the polish. Once you have a design your happy with, dip your finger, nail down, into the polish. Use another toothpick to quickly swirl and pull out the nail polish that did not go on your nail. Pull your finger out, and enjoy your Marbled nails!

Isn’t that so much fun? While I like to do things the easy way, and love sharing just how easy something was – that is not the case here! There is a learning curve with marbled nail art. I want it to be easy for you though so here are my tips and tricks we learned along the way.
Use a paper cup. Seems obvious, but we were out this particular day, and I didn’t want to run to the store, but we really wanted our nails painted too. Now I have a mug with a rim of pink polish inside.
Use a lot of tape. Don’t be afraid to really wrap your finger in tape. We went for a strip around the base of the fingernail. Bad. Don’t do this. Especially if you plan on doing this with a child. While I only anticipated her putting the fingernail side of her finger in the water, we managed to submerge every finger back and front.
New Nail Polish. We had actually tried this last year, but with nail polish we’ve had in the cupboard forever. It took too long to drip and was not runny enough to spread out in the cup. This time, we bought brand new polish to work with, and it made all the difference.
Darker colors. I found the lighter colors of polish disburse too much and lose their color once in the water. Darker colors, that contrast won’t have this problem. Also, if you want to use a sparkly polish, it will only work as the very last color added.

What’s your favorite Nail Art trend?

Leave A Comment