This shop about a DIY Outdoor Stacking Game Craft has been compensated by Collective Bias, Inc. and its advertiser. All opinions are mine alone. #GoldfishGameTime #CollectiveBias
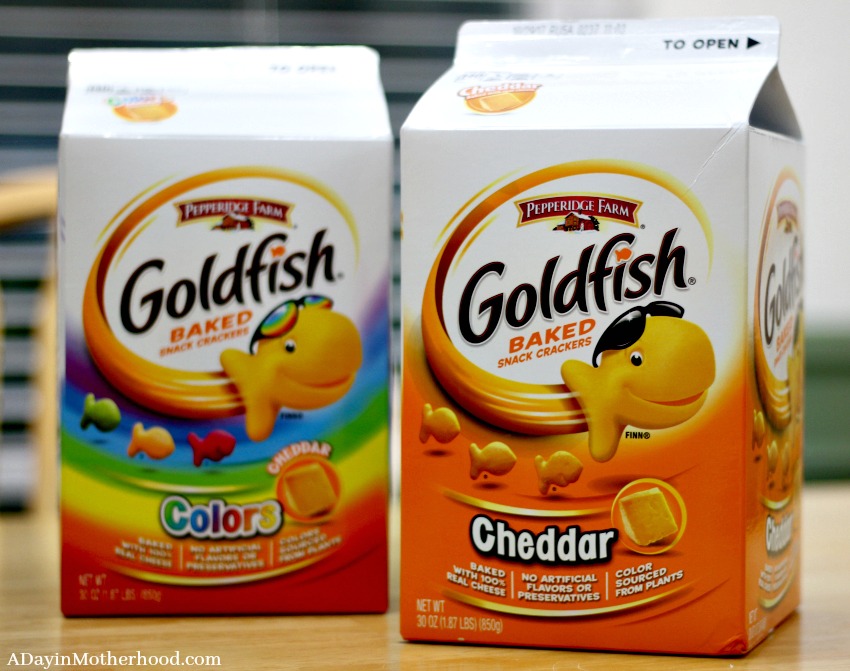
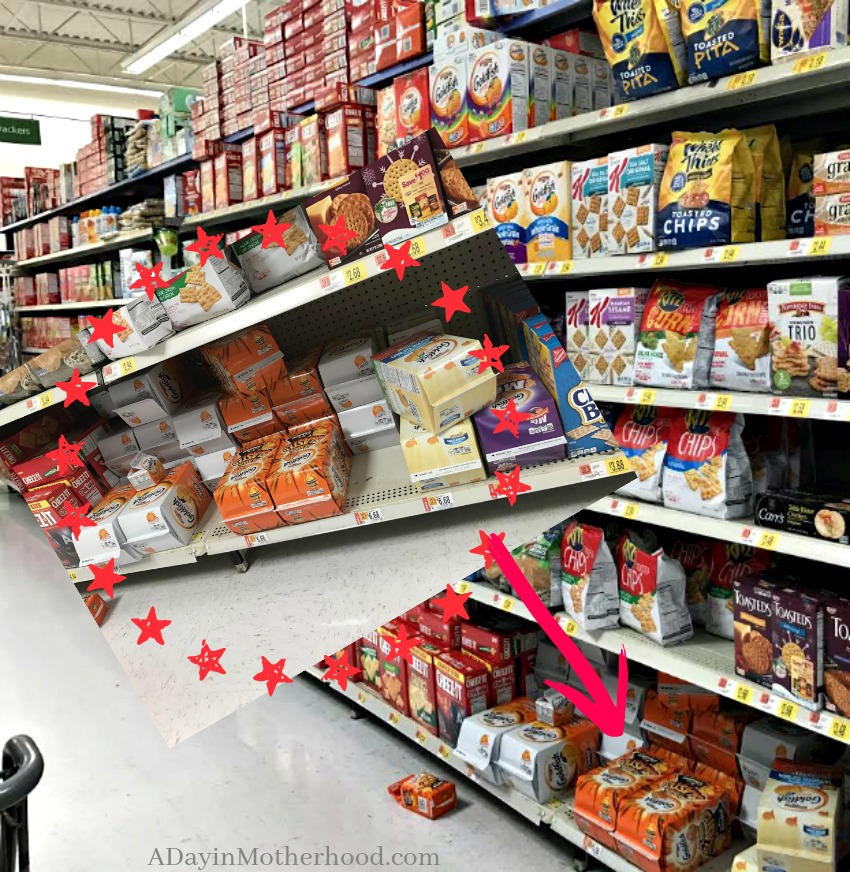
It is POURING down rain outside. Like… pouring. My dog is shaking and my house is dark. Luckily, my kids are at their dad’s house until this evening but, if the rain continues, I am in for a week of cabin fever. Luckily, while at Walmart the other day, I picked up Goldfish® crackers, some fruit and some snack-able veggies for the kids so that they would, at least, be snack happy if stuck inside. But, as it always happens in Texas, the sun will come out and I will be turning off the TV and sending the kids outside to play! While we are a family who always loves to be outside, encouraging them to choose outside first can be as simple as having the toys and tools on hand to make them want to be outdoors! After a very mild winter, if you can call it that in Texas, and a rainy week, a DIY Outdoor Stacking Game Craft will get them out and playing!
Playing outdoors is memory making fun. When I think back to my childhood my best memories are the days on my bike, riding from friend’s house to friend’s house, playing and enjoying the sunshine. I want my kids to have the same memories! Part of making sure that they stay out and want to stay out and play is easy to access snacks that keep them fueled! So anytime I send them out in the yard, I also put out a snack tray with great foods that I know they all will love. Goldfish® crackers are the perfect solution for my kids snacking and meal time recipes and are a win-win for parents and kids!
The Snack That Smiles Back®
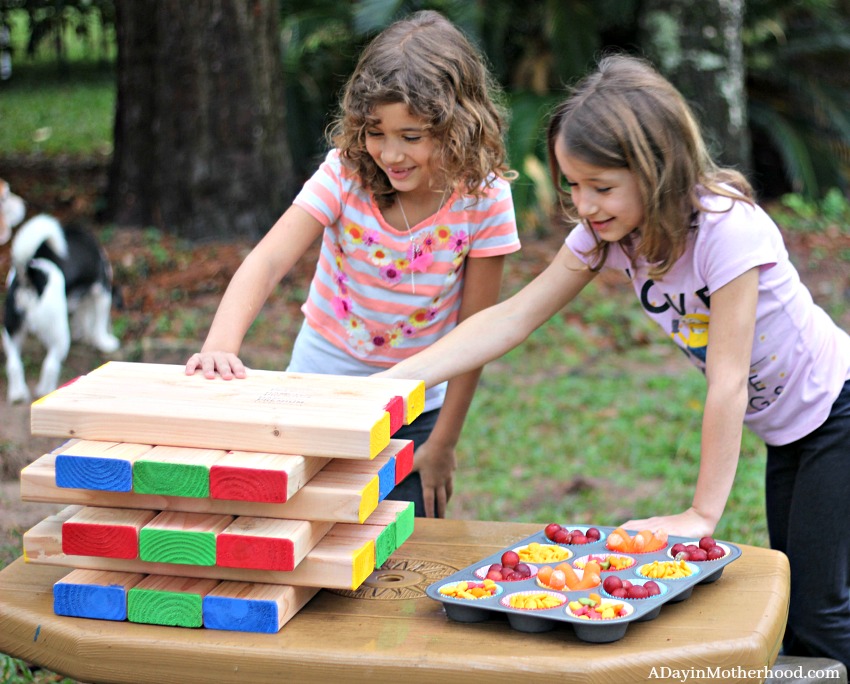
Snacks like Goldfish® crackers promotes an active and positive lifestyle, delivering a wholesome snack to kids and adults with ease as they just grab and enjoy! I place them in cupcake liners in a cupcake tray along with fruits and vegetables they love, like carrots sitting in ranch dressing, and watch as they snack better because of better options! Purchasing Goldfish® crackers in bulk at Walmart, which is our destination for all of my snack and activity items, is just smart!
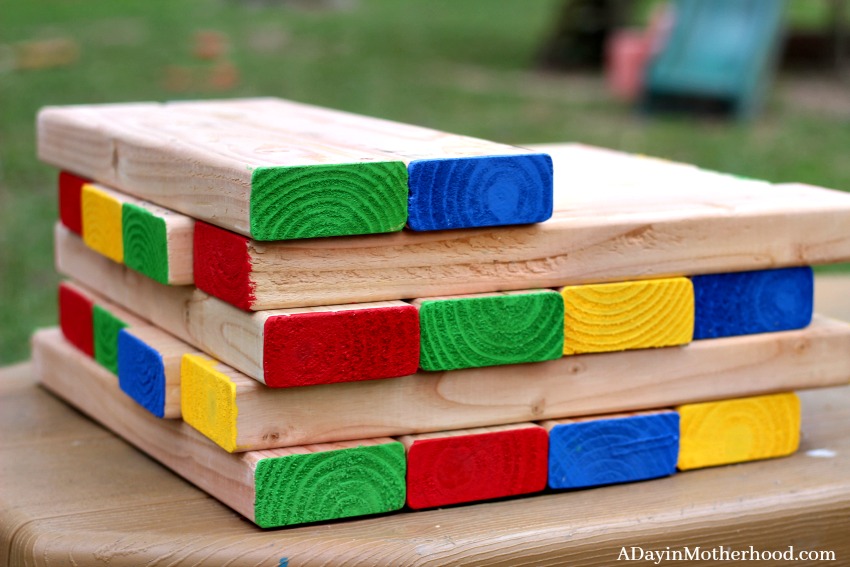
I first saw this outdoor DIY Outdoor Stacking Game Craft on a post online. It looked so FUN but I wanted to modify it for the kids. 54 blocks of 2×4 boards makes a really tall set and I knew my kids would not be able to reach the top without standing on a step stool. Anyone with kids knows that having them stand on things is just asking for trouble. So I did just 16 blocks that could sit on a table and easily be reached.
Also, instead of perfectly measured boards, I left an overhang to make it easier for the kids to pull out and set the boards. 2×4 boards can be somewhat heavy, even in little pieces, so I wanted the kids to be able to slide and stack with ease. Heavy boards that are hard to move for little hands can end up causing accidental injuries. So as you look at my DIY Outdoor Stacking Game Craft, you will see that it does not sit evenly. That is on purpose. But you can follow the exact measurements on DIY Pete if you do not want to modify it.
How to make a Modified for Kids DIY Outdoor Jenga Game
What you need
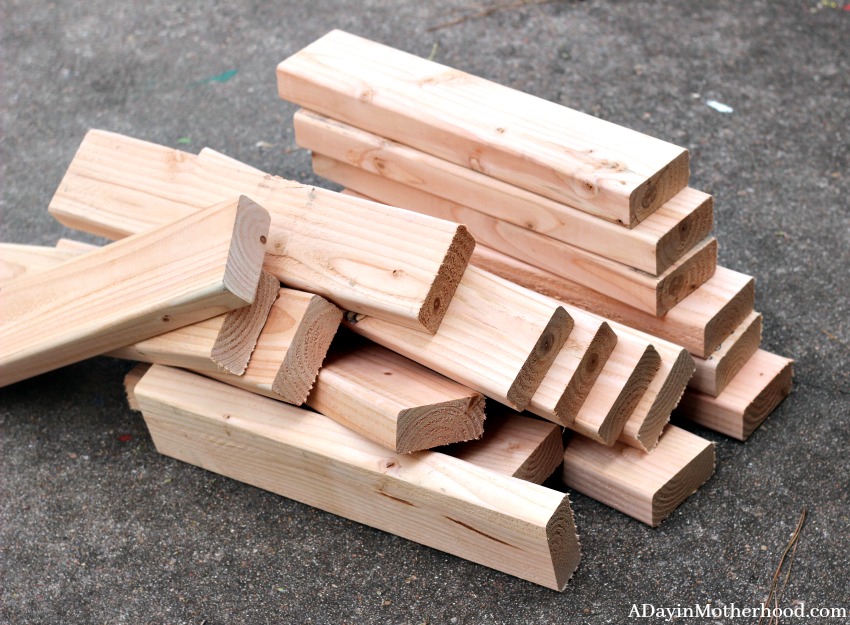
16 – 20 2×4 boards cut in 16″ pieces (you can also do 12″ pieces if you want or the 10 1/2″ pieces if you don’t want the overhang)
Hand sander (optional)
Sandpaper
Paint – I chose 4 bright colors
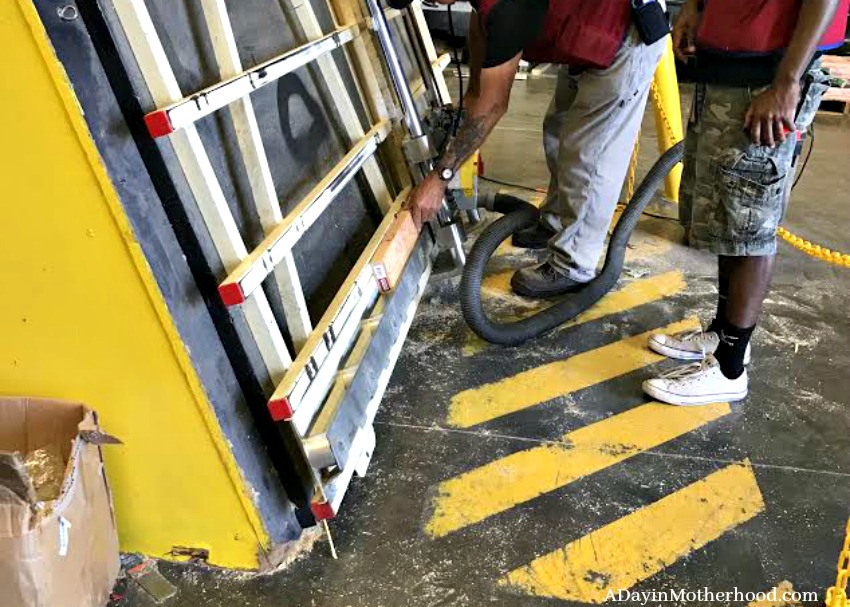
I am a single mom with almost no tools. So thinking I have a table saw to cut the pieces is just not accurate. However, most hardware stores will cut the wood for you. But, check with them before you head out. Specific cuts like this are known as ‘project cuts’ and they often won’t do them on the weekends due to being busier with customers. So plan to head out during the week, preferably mid morning to have these cuts done for you. My hardware store did them for me and I was so appreciative. I used the cheapest 2×4 boards I could find as well as the lightest. I paid less than $3 each for 3, 8′ boards and the cuts were free.
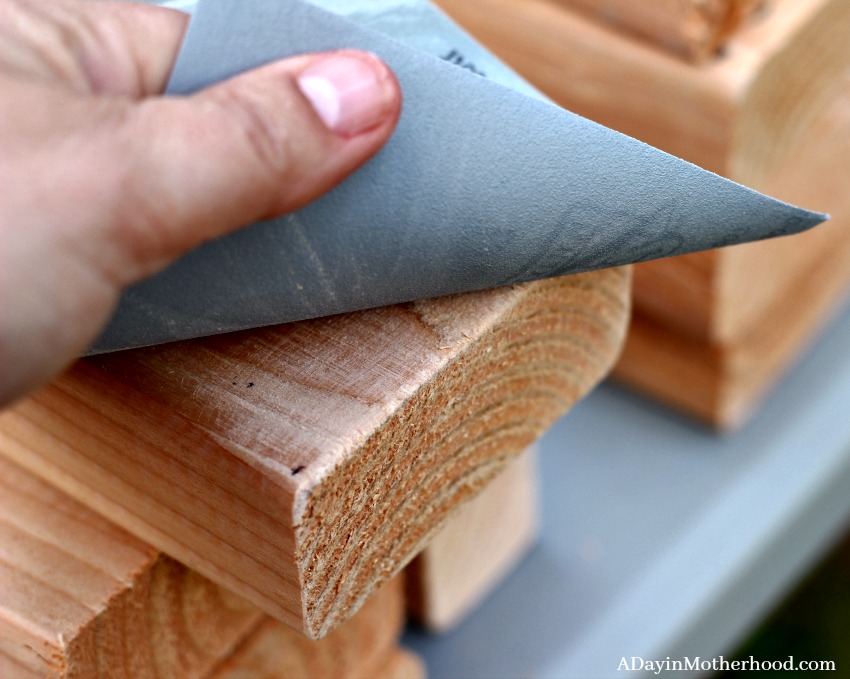
Any wood cut will create splintering on the ends of the boards. Because this is a set for kids, I really wanted the edges smooth. You can purchase a cheap hand sander to make this process super fast. I did purchase one but found that using an individual sheet and sanding by hand was actually pretty easy. Sand until smooth around the edges. Run your hands along them to make sure you won’t be picking splinters out of little hands.
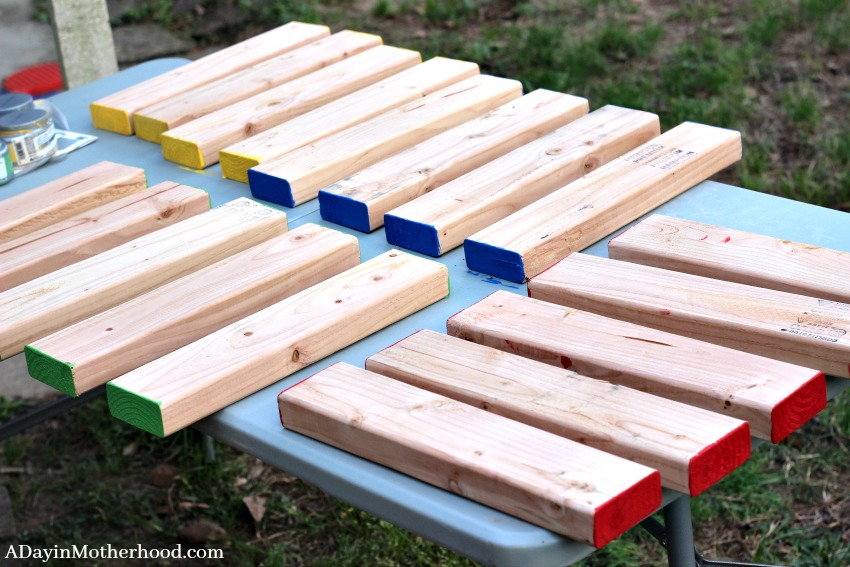
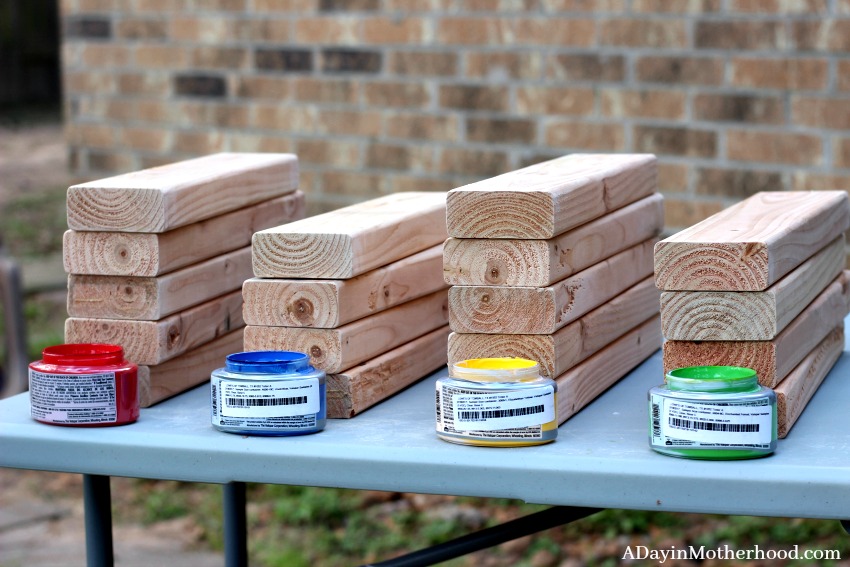
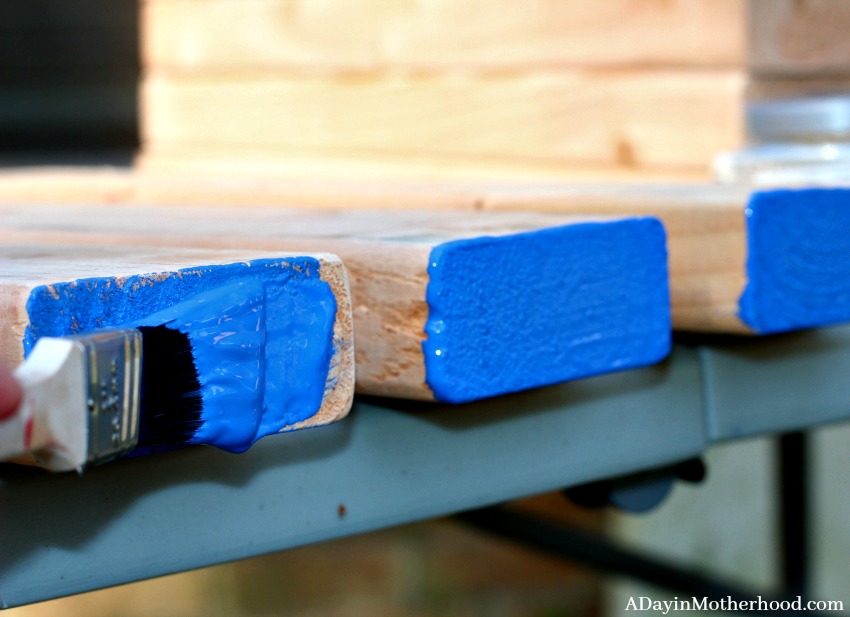
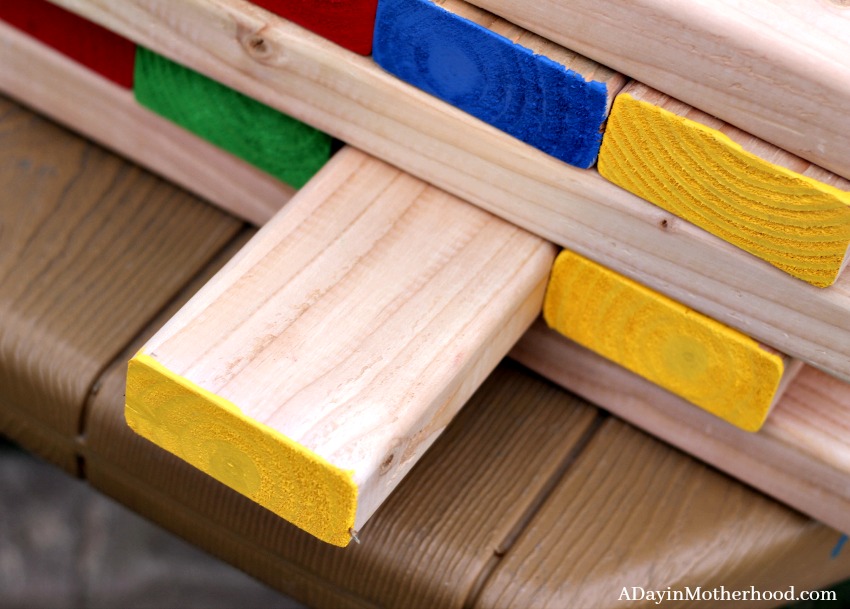
Again, since this is a modified kid’s game, I wanted to make it even more enticing and kid friendly! So I chose to paint the edges in bright colors. Walmart will create paint ‘samples’ for you in their paint department for you to use. This is the cheapest alternative aside from finding leftover paint in your home.
Simply lay out the boards and paint the edges. Use a fairly thick coat to cover completely.
Once the boards are dry, the game is ready!
As I indicated, the boards with a lip over and the smaller stack made it easier for the kids to play. Because there are fewer boards that the traditional game, it is easier to set up and the worry of 54 boards falling on little feet is less.
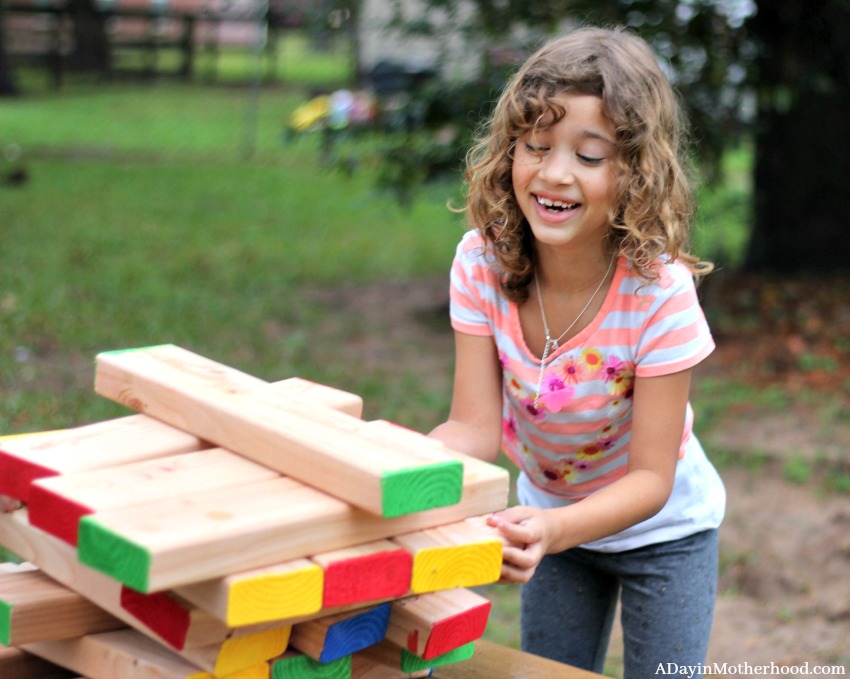
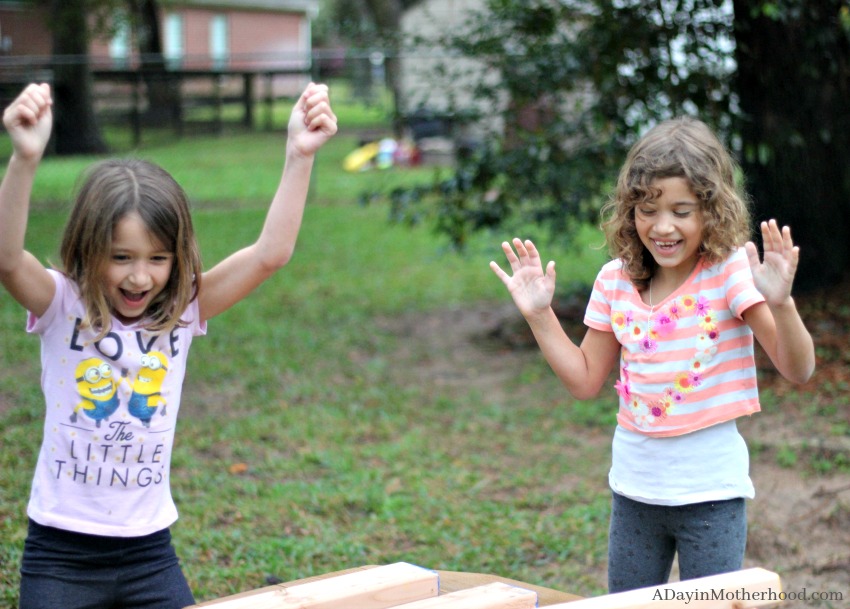
My girls got home and immediately ran outside to see what the colorful boards were all about! I watched them play and laugh and enjoy their Goldfish® crackers as they did. They played until the night fell and I can hear them talking about playing again tomorrow.
So, my goal has been accomplished! I have created a safe and easy game for the kids to play outside, a snack tray that is better for them and keeps them fueled and have eliminated the cabin fever that the weather created!
How would you modify your DIY Outdoor Stacking Game Craft for your kids?





I count 19 boards!