
If you don’t like bling, raise your hand. Go ahead, I’ll wait. No one? That’s what I thought. EVERYONE loves some Bling, especially my daughter, Lorelai. When she found out that we were going to review an arts and crafts product that would be on of the best gifts for 6 year old girls and up and that it involved gems and glitter- she was checking the mail every day after school until it came.
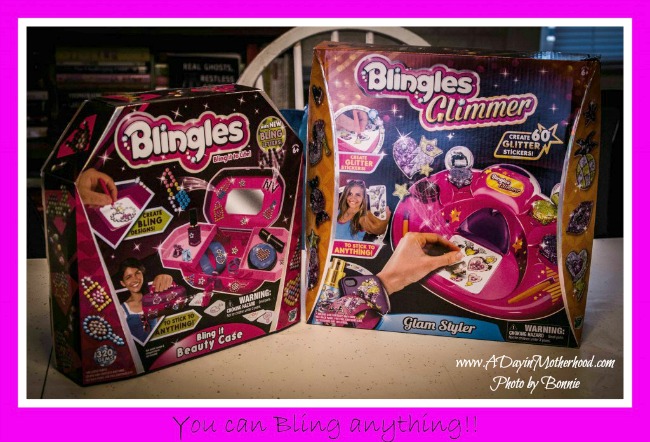
Lorelai decided that we were going to do the Bling It Beauty Case first. We opened the box and laid everything out on the counter. Included in the kit are some templates, the transfer papers, the rubber design mat, glue, the gem pen, 320 gems, and the beauty case with a key (don’t forget about the key!)…oh, and the instructions! I have to admit, this is about the easiest thing I’ve done in awhile!
Check out just how easy in my slideshow below:
Just pick a template, put the design mat on top and lay your gems down. Then use the transfer paper, put them on the glue and then Bling It! What if you don’t want to use all your gems on the Beauty Case? That’s easy! You can put your Bling on ANYTHING! A phone case (or ipod, etc), sunglasses, a sport bottle….if it sticks, you can bling it! Despite my efforts to get Lorelai to bling other things as well, she insisted on using ALL the gems on her beauty case.
And just to reinforce how simple this is to do- Lorelai couldn’t finish this all in one night so she had her DAD help her the next day!
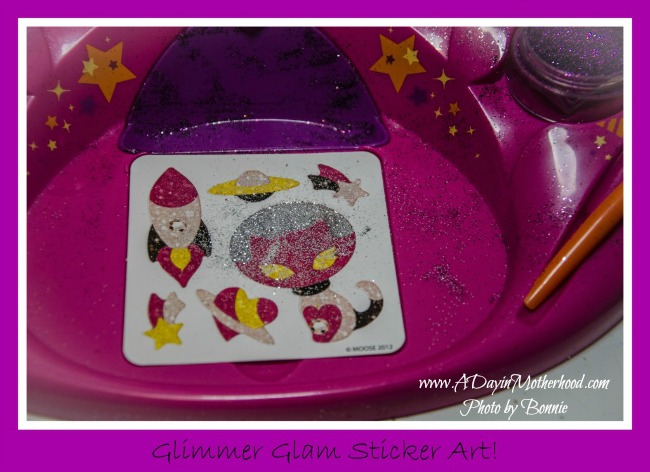
After Lorelai decided she was done for the night, it was MY turn to create! I wanted to make some Glimmer Glam Stickers. I opened the box and laid everything out. There is a tiny bit of assembly with this one- but it’s simple. It’s just a matter of placing the glitter jars in their spots, putting the glitter collector dish down and the bling container in.

Once my glitter was opened and my workstation was assembled it was time to Glimmer Glam! I thought the Beauty Case Bling was easy….ha! This was even easier! Each sticker has different parts to it. You start in the middle by peeling off a section. Choose a glitter color, roll the roller over the glue and brush off the excess. Move on to the next section and repeat until your sticker is complete!
Those colored sections of the stickers are the ones that you take off. Once removed they expose the glue to hold on the glitter. At that point I had only done the silver part of the cat’s head.
Now…where can you put these stickers when you’re done? ANYWHERE you want! We stuck some of ours on a pencil box.
The Blingles kits are so much fun and so easy- I definately recommend them. They would be GREAT as gifts this holiday season! You can purchase your own Blingles set at most major retailers nationwide OR ONLINE.
You can also be a lucky winner! By entering below you have a chance to win your very own Blingles Theme Pack AND your very own Glimmer Theme Pack! Also take a moment to comment below about what you would like to “bling” and view our Blingles slideshow! Check out the entire Blingles line at MyBlingles.com.
Congratulations to our winner, Gina H.!!

My dd would LOVE it!
I’m the only one in my house and I’d love some bling.LOL!! My 2 nieces ages 5 and 9 would go crazy for bling. If I won it I’d make sure they shared it with me. Lol! Thank you for the fun giveaway :)
My great niece would love this
http://www.pinterest.com/pin/236087205439537266/
My granddaughter would love it.
Madyson and Livy would have a blast with this!
My daughter would really enjoy blinging up her stufff with these.
I think both my daughter’s would love this.
my daughter and her friend Hope would love it.
My daughter would flip over this! She would share it with all her friends if she could