Creation by Lori Pace, Owner of ADayinMotherhood.com. Affiliate links included.
Today is my daughter’s 6th birthday! SIX! How did that happen? It goes so so fast! To celebrate, I stayed up to the wee hours of the morning baking so that she would have a fantastic day! She is my only child that has a birthday during the school year so, every year, I take cupcakes to her class. In addition to that, she gets a cake at her party. In the past I have bought cakes, but this year, I made all of my kids cakes – for the first time ever! I am no baker though so I thought I would share how to make easy Dora the Explorer Birthday Cakes so you could see that anyone could do it!

Like I said, I am no baker. So a store bought box of cake and icing were in order. I picked a yellow cake and white icing. I wanted purple icing, Dora and Sarah’s favorite color, but they were out. I figured I would try to mix red and blue food coloring into it to get it purple. I went to the toy aisle to look for something fun to put on the cake that was Dora. I found a Dora Art Set that was perfect but any Dora figurine would work! My Sarah asked for painting stuff for her birthday so this one tied in nicely! The basics cake making instructions are the same. Put in bowl, mix till smooth, and so on. I line my two cake pans with Parchment Paper to make them pop out better and then spray the sides with Pam. Bake til done and let them rest about 10 minutes.
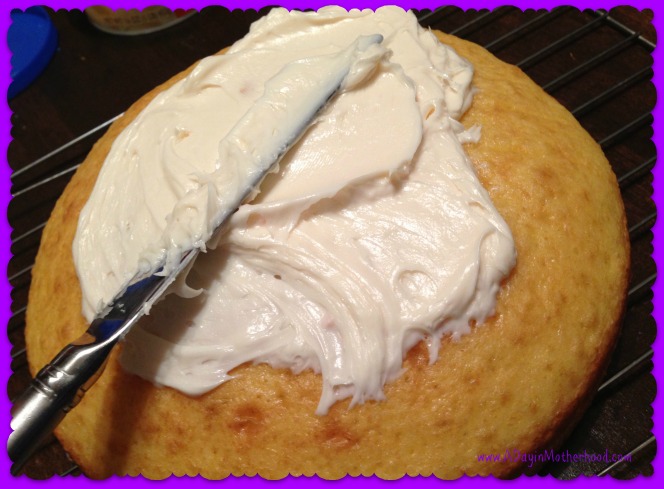
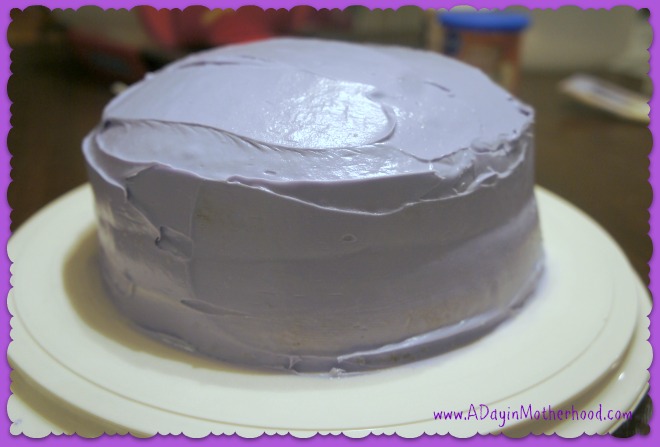
Then I put the cooling rack over the top of the pan and flip them over. Mine pop right out. I remove the Parchment Paper and flip them back over to the tops. I let them cool completely – about another 20 minutes – and then it is time to ice! Now, I am a big supporter of multi colored icing for the middle of the cake and the outside. So to dress up the cake further, I iced the middle with Cream Cheese Frosting. The cream colored icing will be so pretty when the cake is cut against the purple on the outside. To make the Purple Icing, I did 2 drops of blue food coloring and 2 drops of pink. You can adjust as you like. Tip: Use the pastel blue and pink (I used Wilton Gel food colors), not the primary red and blue. The primaries mixed made brown. Before I starting icing with the purple, I went around the cream colored icing and cleaned up any excess. I did not want it to mix with the purple as I iced if I could help it. Once the cake was iced, I smoothed it all out with a knife and then took a wet paper towel and wiped along the bottom to clean off excess icing.
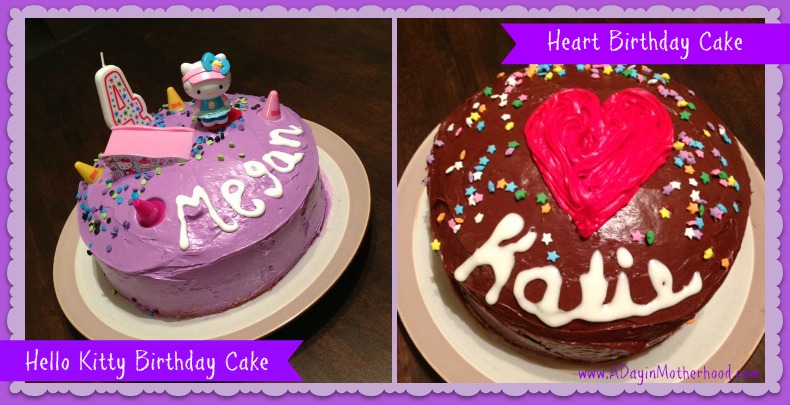
Now to the decoration! I used Writing Icing to put my daughter’s name on the bottom. It was so easy to use I could even fancy it up a bit. I then opened the figurine toys and went about placing them on top. The Dora was heavy so I used a small lollipop stick to hold her up from the back.
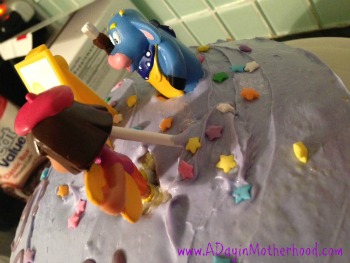
I added some star sprinkles and I was all done! It took longer to bake the cake than it did to decorate it! My daughter’s eyes were so excited when she saw it and that was worth it to me!
Do you make homemade cakes for your kids? Leave some tips to make it easier below!
Get more Recipes and be sure to sign up for my Daily Email too!


My granddaughter just discovered Dora the Explorer (she is 2 years old) and is loving the shows, she wears a Dora T-shirt and I know she would love to have a Dora cake for her upcoming birthday next month. Thanks for sharing.
You are so welcome! Sarah discovered her at 2 and we are still going strong! LOL
thats really creative! i love that idea i would do a yo gabba gabba one for my boys!
OOH -that would be a good one!